
How to Lock Down Your Windows 11 for Maximum Privacy
The best way to lockdown Windows is to not use it at all LOL. Okay, that might have been a bit extreme but then again you’re here with a *nix fanboy. All jokes aside, sometimes even us *nix users need to run or test something in Windows but it’s not the most private system. There’s a lot of tracking and background stuff going on that we don’t need. Let’s change that. I’m talking about making your Windows 11 bulletproof when it comes to privacy. Ready? Let’s do this.
Step 1: Turn Off Telemetry – No More Data to Microsoft
Windows 11 loves to send data back to Microsoft. I’m talking about your usage, diagnostics, even your preferences. But we’re cutting that off, right now.
Go to:
Settings → Privacy & Security → Diagnostics & Feedback
- Set Diagnostic Data to Required Only. - If you’re running on the Insiders channel then you can’t turn this off.
- Turn off Tailored Experiences.
- Turn off Improve Inking & Typing.
- Turn off Feedback Frequency or set it to Never.
Now, Windows isn’t sending back more data than it absolutely needs to.
Step 2: Disable Ad Tracking
Windows uses something called an Advertising ID to track your behavior and target you with ads. Yeah, no thanks. Let’s disable that.
Go to:
Settings → Privacy & Security → General
Turn off everything under General:
- Let apps show me personalized ads using my advertising ID.
- Let websites show me locally relevant content by accessing my language list.
- Let Windows track app launches to improve Start and search results.
- Show me suggested content in the Settings app.
No ads, no tracking, just clean operation.
Step 3: Lock Down Location Tracking
Windows 11 tracks your location by default, but we don’t need that unless you’re using apps that absolutely require it.
Go to:
Settings → Privacy & Security → Location
- Turn off Location Services unless you really need it.
- If you use it, go to Location History and clear the history.
You’re now free to move about the digital world without being tracked.
Step 4: Set Up a Solid Firewall
Windows 11 has a built-in firewall, but let’s make sure it’s turned on and configured right.
Go to:
Settings → Privacy & Security → Windows Security → Firewall & Network Protection
Make sure Domain, Private, and Public networks are all set to On. This keeps the bad actors out and your data locked in.
Step 5: Use BitLocker to Encrypt Your Drive
If someone ever gets their hands on your laptop, BitLocker makes sure they can’t just read your files. It encrypts your entire hard drive so it’s locked behind a password or recovery key.
Go to:
Settings → Privacy & Security → Device Encryption
Turn on Device Encryption. If your device supports BitLocker, you’ll see that option. Follow the setup to encrypt your entire system.
Step 6: Install a VPN – Protect Your Internet Traffic
You want privacy, you need a VPN. It hides all your internet traffic and keeps your ISP (or anyone else) from seeing what you’re up to online.
Download and install a trusted VPN provider’s app (My favorite is ProtonVPN). Once installed, activate it and connect to a secure server. Now, all your internet traffic is encrypted and private.
Step 7: Disable Cortana
Cortana might be your personal assistant, but she doesn’t need to know everything about you. Let’s turn off Cortana.
Go to:
Settings → Apps → Apps & Features → Cortana
Click Advanced Options and turn off everything—background apps, permissions, all of it. Now Cortana isn’t listening anymore.
Step 8: Disable OneDrive If You Don’t Use It
OneDrive is Microsoft’s cloud service, but if you’re not using it, you don’t need it constantly syncing your files to the cloud.
Right-click on the OneDrive icon in your taskbar, go to Settings, and Unlink this PC. Now OneDrive won’t sync anything without your say-so.
Step 9: Manage App Permissions
Apps on Windows 11 can access a ton of data about you if you let them—your camera, microphone, location, contacts, etc. Let’s make sure they only have access to what they need.
Go to:
Settings → Privacy & Security → App Permissions
Go through each one and disable permissions for apps that don’t need access to that data. If a random app doesn’t need your camera, don’t let it have access.
Step 10: Install Privacy-Focused Browser Add-ons
Your browser is the main window to the internet, and it’s where most privacy problems happen. Let’s lock that down too.
If you’re using Edge, Firefox, or Chrome, install these add-ons:
- uBlock Origin: Blocks ads and trackers.
- Privacy Badger: Blocks sneaky trackers.
- HTTPS Everywhere: Forces secure connections.
This will make sure you’re not being tracked or served ads while you browse. I recommend Firefox - go check out my full Firefox Privacy Guide
Step 11: Turn Off Activity History
Windows stores an Activity History of everything you do and sends it to Microsoft. Yeah, we’re turning that off too.
Go to:
Settings → Privacy & Security → Activity History
Uncheck Store my activity history on this device and Send my activity history to Microsoft. Then click Clear Activity History.
Step 12: Use Windows Defender for Security
Windows Defender is already pretty solid for basic protection. Just make sure it’s turned on and doing its job.
Go to:
Settings → Privacy & Security → Windows Security
Make sure Virus & Threat Protection is enabled. Run a scan every now and then just to make sure you’re clean.
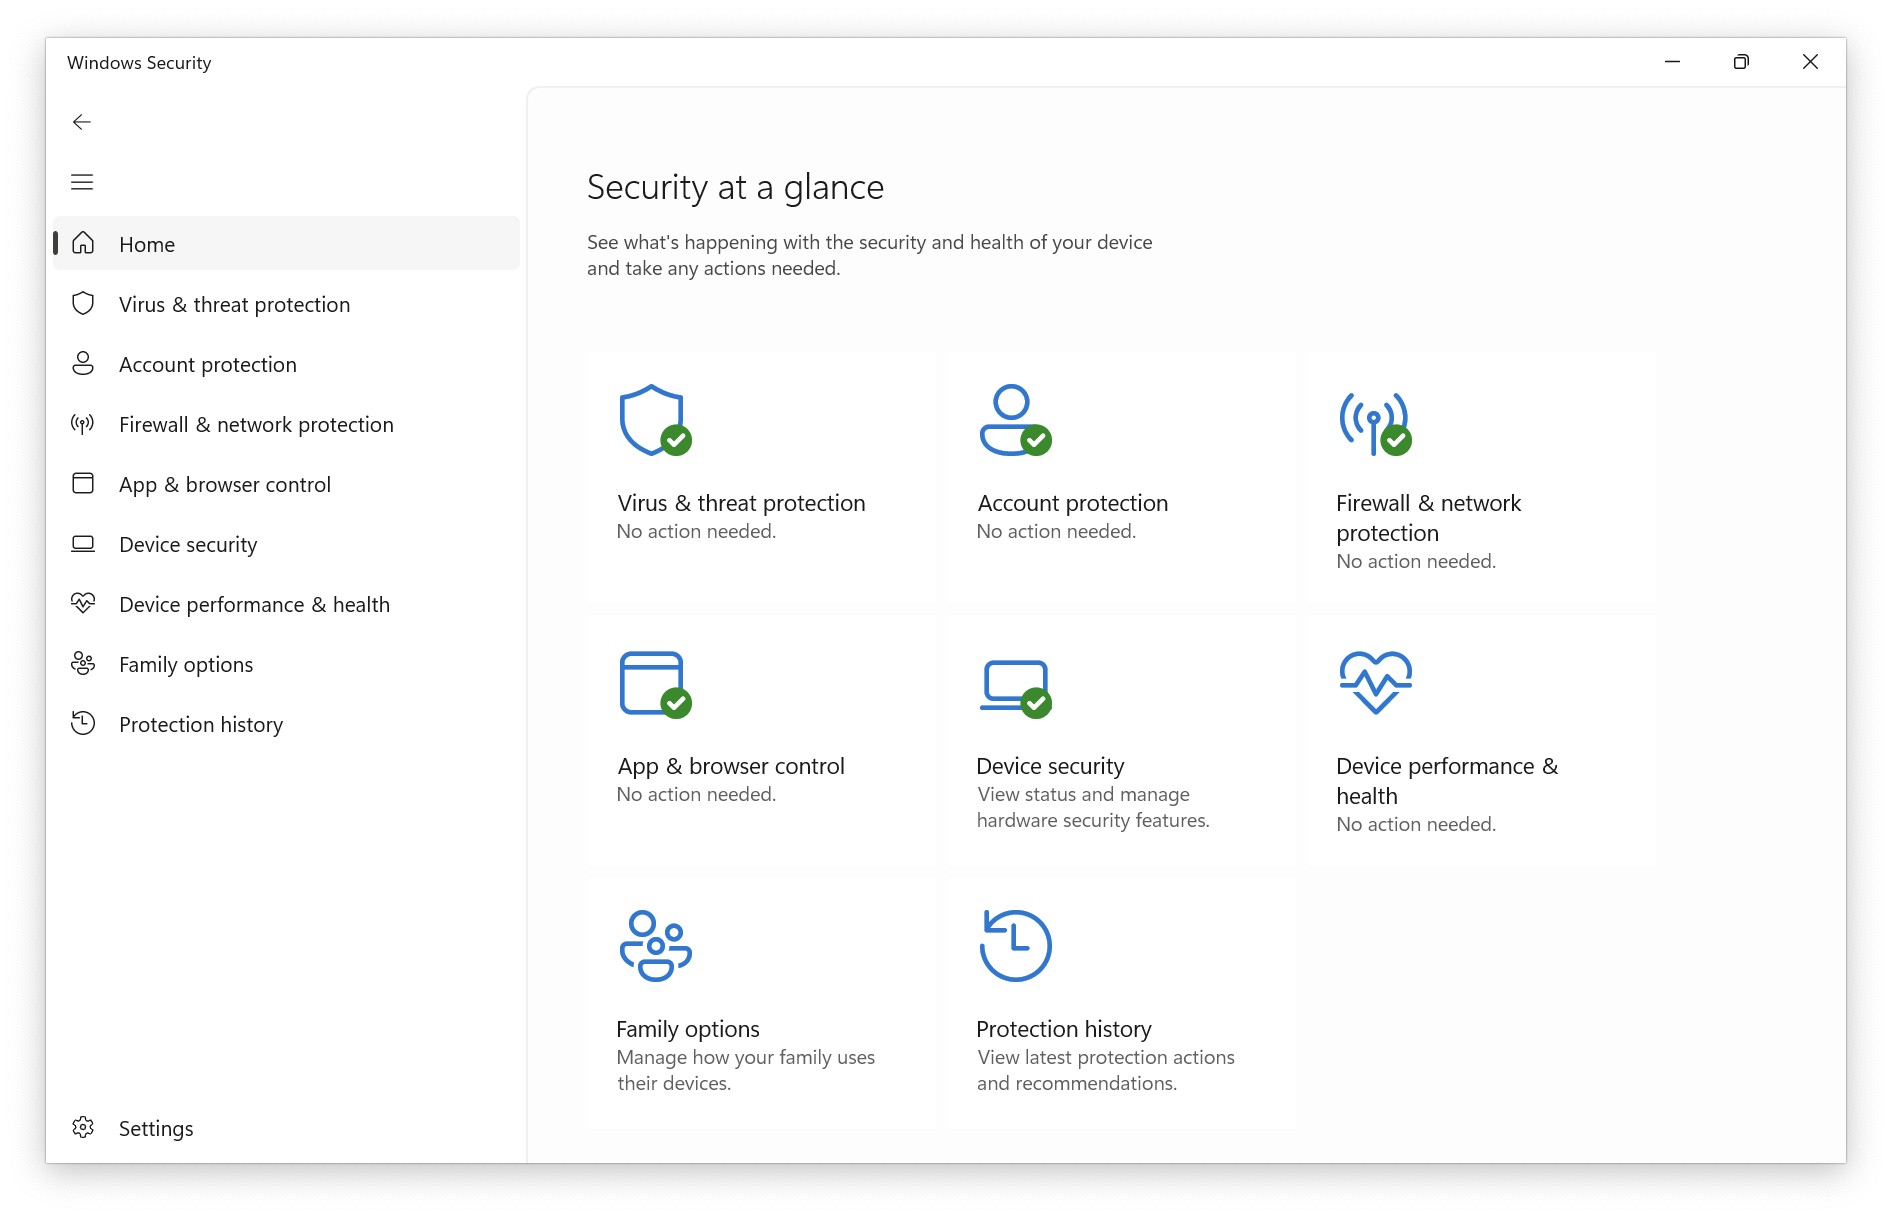
Your Windows Security center should look something like this when you’re done.
Final Thoughts
Congrats, you’ve just locked down your Windows 11 system like a pro. No more data leaking to Microsoft, no tracking ads, and all your files are encrypted and secure. Remember, privacy isn’t a set-it-and-forget-it thing. Keep tweaking, stay aware, and make sure your system stays locked down.
Now go enjoy your super secure Windows 11! Peace out!